Flat tire repair is more than inserting a rubber plug into a leaking tire. It is a safety procedure that begins with inspection, not guesswork. The technician must locate the puncture, remove the tire, and examine its inner liner for hidden damage. A small nail in the tread may be repairable. A torn sidewall usually is not.
The National Highway Traffic Safety Administration reported 664 deaths in tire-related crashes in 2020. Its tire safety guidance repeatedly emphasizes correct inflation and regular inspection. The U.S. Tire Manufacturers Association also recommends a professional inspection after a puncture, especially when the tire has been driven while underinflated. These reports show why a temporary roadside fix cannot replace a complete evaluation.
Kevin Rohlwing, a technical authority with the Tire Industry Association, has offered a useful warning: “A plug is not a repair.” The point is easy to miss. A proper flat tire repair normally combines an interior patch with a stem that seals the puncture channel. The tire is then tested for air loss and returned to the vehicle at the manufacturer’s specified pressure.
It sounds simple.
It is not always.
A tire may look normal outside while its inner structure has been damaged by heat, flexing, or low pressure. That is why trained technicians record the puncture location, measure the injury, and reject unsafe repairs. Still, repair decisions can vary with tire design and damage history. This guide explains what happens during flat tire repair, which tools professionals use, and when replacement is the more responsible choice.
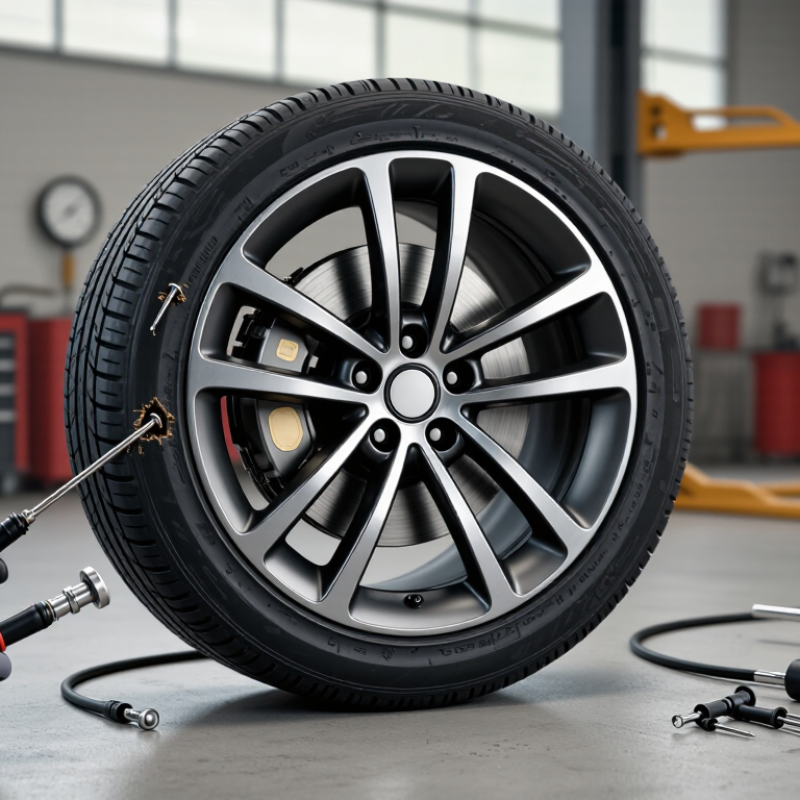
Flat tire repair means restoring a tire after air escapes, but the warning system only starts the investigation.
Federal TPMS rules require a warning when pressure falls about 25% below the placard pressure, according to NHTSA regulations. The light may indicate a puncture, temperature-related pressure loss, or a sensor fault. It does not identify the cause.
Check pressure with a gauge, not the dashboard alone. A valve hiss, nail head, or damp tread can reveal the problem.
Puncture location decides repairability. The USTMA Tire Repair Procedures generally allow tread repairs when the hole is no larger than 6 mm, or 1/4 inch, after internal inspection.
A proper repair uses a combination repair unit, not an external plug alone. Shoulder and sidewall damage is normally non-repairable because those areas flex heavily. Multiple punctures, exposed cords, run-flat damage, or driving while flat can also end the repair discussion. Quick roadside fixes can mislead.
Safety limits matter more than convenience. NHTSA’s Tire Pressure Monitoring System Effectiveness Study reported a 55.6% reduction in severely underinflated passenger tires after TPMS adoption.
Still, warnings need immediate action. Slow down and stop safely. Do not drive on a visibly flat tire.
Follow the vehicle placard and temporary-spare speed limit.
A repaired tire should hold pressure and pass a final leak check. “Repairable” can sound too certain; inspection cannot reverse hidden internal damage.
A flat tire repair should begin by locating the actual leak, not guessing from the softest-looking area. Park on firm, level ground and engage the parking brake. Let a hot tire cool before testing it. Measure pressure with a reliable gauge and compare it with the vehicle’s recommended pressure. Do not drive on a visibly damaged tire.
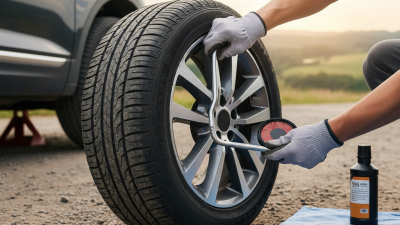
Mix clean water with a small amount of dish soap. Brush or spray the solution over the valve stem, valve core, tread, and rim edge. Watch closely for bubbles. A growing cluster usually identifies escaping air. Tiny bubbles can come from the soap itself, so wipe the area and test again. Slow leaks may need several minutes to appear. They are easy to miss.
Mark the bubbling spot with chalk or tape. Check nearby areas again, because air can travel along grooves before surfacing. A leaking valve may need professional replacement, while a tread puncture might be repairable after an internal inspection. Sidewall and shoulder damage generally require tire replacement, not a plug. The soap-water test is useful, but it is not perfect. Cold temperatures, dirty surfaces, or weak pressure can hide a leak. A second check would be wise.
Flat tire repair begins with finding the air loss, but the visible puncture is only part of the story. A technician should remove the tire and inspect its inner liner for abrasion, separation, or damage from driving while underinflated. A screw in the tread may look harmless. Heat damage can still hide inside.
Repairability depends strongly on puncture size and location. The U.S. Tire Manufacturers Association limits repairable tread punctures to ¼ inch, or 6 mm, when other conditions are acceptable. The puncture should remain within the central tread area, not near the shoulder or sidewall. Sidewall damage is generally not repairable because that area flexes heavily during driving.
Measure it carefully.
A proper repair normally uses an approved combination repair unit that seals the injury from inside and fills the puncture channel. A plug inserted from outside may stop air loss temporarily, but it does not prove the tire is safe. The technician should also check the puncture angle, internal cords, tread depth, and previous repairs. Two nearby injuries may weaken the same section.
In practice, hurried inspections create mistakes. I once watched a small nail receive more attention than the tire’s worn tread, which was the larger concern. That detail matters. A repaired tire still needs correct inflation and periodic pressure checks, especially after temperature changes. If the injury exceeds 6 mm, reaches the shoulder, or follows run-flat driving, replacement may be the safer decision.
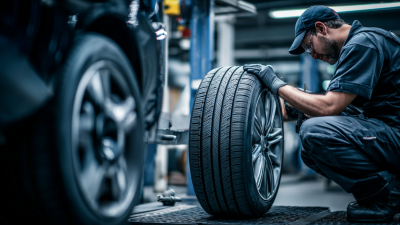
Flat tire repair restores air retention after a puncture, but the method matters. An inside patch-plug is often more reliable than an external plug alone. The technician removes the tire from the wheel and examines the puncture from both sides. This step reveals hidden liner damage, moisture, or a second puncture.
The repair area must remain within the central tread. Sidewall and shoulder damage usually requires tire replacement. After marking the injury, the technician removes the object and checks its angle. The inner liner is buffed carefully until it becomes clean and slightly textured. A suitable rubber cement is applied, followed by the patch-plug from inside the tire. Its stem fills the puncture channel, while the patch seals the liner. Firm rolling removes trapped air. The stem is then trimmed flush with the tread.
Small details affect reliability. The technician should inspect the bead, valve, and wheel before inflation. The repaired tire is inflated to the vehicle’s specified pressure and tested for leaks with soapy water. It may also need balancing after installation. A neat repair can still fail if the puncture is too large or the inner liner was weakened. That is where judgment matters. I would not treat every slow leak as a simple nail repair. After driving a short distance, checking pressure again is a sensible habit.
A permanent patch-plug repair is performed from inside the tire after the tire is removed from the wheel. The puncture is inspected, cleaned, and filled with the plug stem, while the inner liner is sealed with a patch. Common tire-repair guidance limits this method to punctures no larger than 6 mm (approximately 1/4 inch) in the tread area. Shoulder and sidewall damage is generally not considered safely repairable.
Flat tire repair is incomplete until the tire holds air at the vehicle placard pressure. That number sits on the driver’s door-jamb label, not the tire sidewall. Sidewall pressure is a maximum, not the operating target. After an approved puncture repair, inflate the tire with a calibrated gauge. Check it while cold, before driving.
Do not trust appearance alone. Brush soapy water around the repaired area, valve stem, and rim edge. Watch for growing bubbles. A slow leak can hide beneath a quiet tread surface. The U.S. Tire Manufacturers Association reports that tires may lose about 1 psi monthly through normal seepage. That small loss matters when a tire already runs below specification. NHTSA recorded 738 deaths in tire-related crashes during 2017, showing why verification deserves more than a quick glance.
Drive briefly only when the repair procedure permits it. Park safely, then recheck the pressure and inspect for fresh bubbling. Reset the pressure-monitoring system if the vehicle requires it. A warning light can remain off after a tire loses air slowly. I have learned that one gauge reading is not proof. Gauges can disagree, and temperatures change pressure. If pressure drops again, stop using the tire and seek a qualified inspection. The repair may have sealed the puncture, but the valve, rim, or internal structure could still be compromised.
| Verification Dimension | How to Check | Correct Result | If the Result Is Not Correct |
|---|---|---|---|
| Vehicle placard pressure | Find the recommended cold-tire pressure on the vehicle information placard, commonly located on the driver-side door jamb, door edge, or in the owner’s manual. | The repaired tire is inflated to the specified pressure, such as 35 psi (approximately 241 kPa or 2.4 bar), when cold. | Adjust the pressure with a reliable gauge. Do not use the maximum pressure printed on the tire sidewall as the vehicle’s normal target. |
| Pressure measurement conditions | Measure before driving or after the vehicle has been parked for several hours, because driving heats the air inside the tire. | The reading reflects cold-tire pressure and can be compared accurately with the placard specification. | Allow the tire to cool before making the final pressure adjustment. Avoid releasing air from a hot tire solely to match the cold specification. |
| Valve stem and valve core | Apply a suitable soapy-water solution around the valve stem, valve core, and valve-cap area. | No continuous bubbles form. A brief disturbance caused by applying the solution is not normally a leak. | Tighten or replace the valve core or replace the valve stem as appropriate. Recheck the pressure afterward. |
| Repair area | Apply soapy water to the repaired puncture area and watch for bubbles for several seconds. | There is no steady bubble growth or audible hissing from the repaired area. | Do not treat a continuing leak as repaired. Have the tire inspected and repaired or replaced using an appropriate tire-service procedure. |
| Bead and rim interface | Inspect and test around the entire area where the tire bead contacts the wheel rim, especially where corrosion, dirt, or impact damage is visible. | The bead remains seated and no bubbles appear around the rim after inflation. | Deflate and service the tire only with the correct equipment and training, or have a qualified tire professional inspect the wheel and bead seal. |
| Tire condition after repair | Inspect the tread, sidewalls, bead, and wheel for bulges, cuts, exposed cords, cracks, deformation, or impact damage. | No structural damage or abnormal deformation is present, and the tire is suitable for continued service. | Do not rely on an air-loss repair when structural damage is present. Seek a professional inspection and replace the tire if required. |
| Other tire pressures | Check all tires, including the spare if fitted, rather than checking only the tire that was flat. | Each tire matches the appropriate pressure listed for its axle or load condition on the vehicle placard. | Correct any low or high reading and investigate repeated pressure loss. |
| Pressure retention | Record the cold pressure after the repair and check it again before the next use and during routine maintenance. | The pressure remains near the specified value without unexplained loss. | Treat recurring pressure loss as evidence of a possible leak, valve problem, rim issue, or tire damage; arrange an inspection. |
| TPMS warning status | After restoring the correct pressures, check whether the tire-pressure monitoring warning clears according to the vehicle’s operating instructions. | The warning is cleared after the system recognizes the correct pressure; some vehicles require a short drive or a manual reset. | Confirm the actual pressure with a gauge. If the warning remains or flashes, have the tire-pressure system inspected. |
| Road-test confirmation | If the tire passes the stationary checks, drive cautiously and monitor for vibration, pulling, noise, or renewed pressure loss. | The vehicle handles normally, and no new warning or symptom appears. | Stop safely and arrange an inspection if abnormal handling, vibration, noise, or rapid pressure loss occurs. |
Safety note: A tire that has been driven while severely underinflated, has sidewall or structural damage, or continues to lose air should not be returned to service without a qualified inspection.